Tomatoes, the most disease-ridden part of the vegetable garden though, are the most preferred vegetable to almost all the home gardeners of America.
These easy growing plants will reward you with a massive harvest, and you will enjoy more flavored, juicy, sweet but tart, and chemical-free tomatoes from your garden.
You must educate yourself on some specific things: when and how to plant seeds, which types match your desire, and the full course of actions to plant, grow, and harvest tomatoes.
Following the guide, I hope, makes your efforts to growing tomatoes enjoyable.
Navigate Quickly
How To Grow Tomatoes: Step By Step Guide
Growing Seedlings
Ready transplants of tomatoes are on hands in many gardening centers. But if you opt for a variety of tastes and flavors, prepare your seedlings.
Choosing Seeds
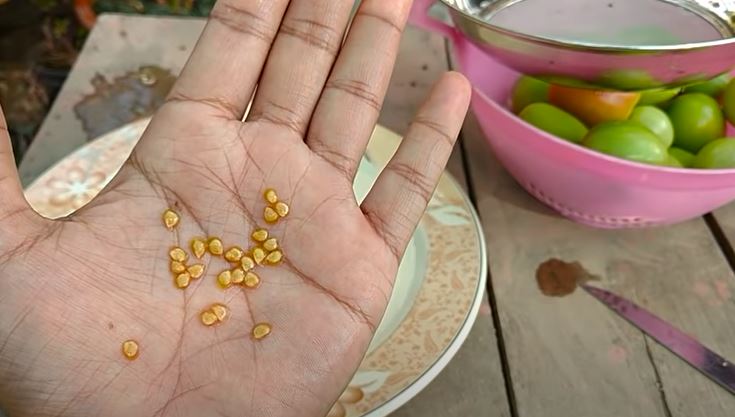
So many varieties of tomatoes with different tempting tastes give you the chance to pick from: cherry, paste, slicing, grapes, and many more.
You would get early, mid, and late seasons varieties. For example, “early girls” is the earliest tomato comes from early varieties, “Floramerica” with deep red flesh and heavy yielding “Fantastic” are of midseason varieties, and “Amish Paste,” suitable for slice and paste is late-season fruit.
Two types of growth habits of tomato plants make a difference while selecting the seeds. From them, determinate varieties those are bush type mature earlier, don’t grow too tall and impressive for sauce and canning.
The other is indeterminate varieties, also called vining tomatoes grow six to eight feet tall and continue to grow and produce so many fruits until frost attacks them.
Salad tomatoes or paste tomatoes or beefsteak tomatoes and a minimum of hundred types: which one is your choice? Along these, prefer the mixed type also if you are a home gardener.
When to Plant Seeds
The growing season for tomatoes is summer that you can count from the last spring frost date to the first fall frost date in your area. Collect a planting calendar available in the gardening website to know the planting and growing time.
Depending on the planting calendar, the time to plant seeds varies with regions. The probable time should be between late January and early March.
You will count the expected date of the last spring frost and subtract six to eight weeks from it and sow seeds accordingly.
Starting Seeds Indoors
Sowing seeds indoor is optional for many vegetables but is highly advised for tomatoes if you are not relying on the greenhouse. Why?
Tomato seeds need 60-80 degrees Fahrenheit to germinate and grow. Like the time you are planting the seeds in late winter (as discussed earlier), the soil outside is not warm enough to do the job.
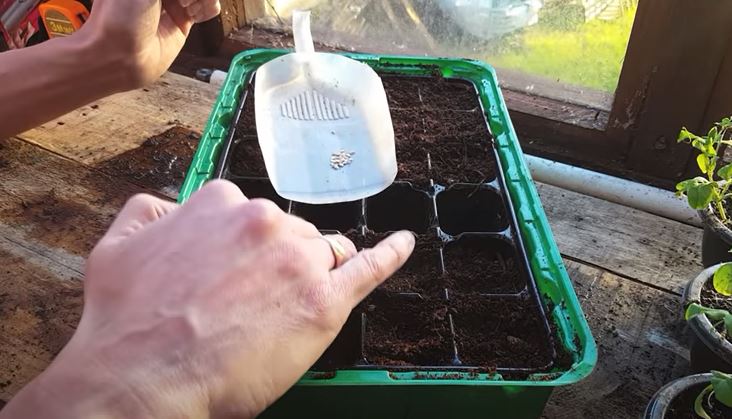
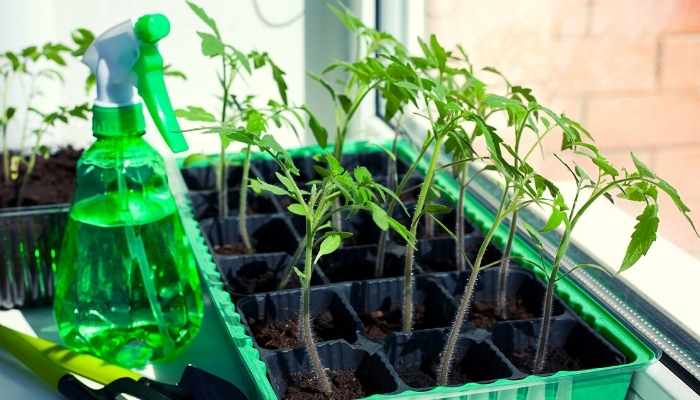
Get some small plastic pots or recycled containers or buy cell packs (if you want to propagate many seeds in a single effort) and fill them with potting mix (preferably soilless).
In the case of pots, 3-4 inches long and wide, place only two seeds apart in each container not less because you can choose the better one and not more to avoid overcrowding.
Make ¼ inches of holes in the soil to place the seeds and cover them with a thin layer of mix. Gently press the surface to cause a better contact between seeds and earth that accelerate the germination.
Put the pots by a sunny window getting at least 4 hours of direct sunlight or under a heat lamp. Water the seeds spraying 5-6 times but don’t soak the soil.
Cover them with plastic wrap not to let the soil dry and to keep it warm. Check out whether the ground becomes dry and spray again in the same manner. Make sure you are removing the wrap as soon as the seeds germinate to prevent fungal diseases and allow air circulation.
Wait till the seeds sprout through the soil, and it’s probably between 5-10 days.
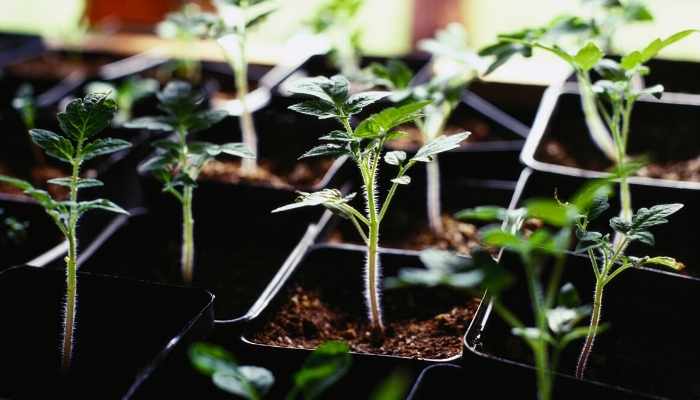
Growing and Caring of Seedlings
It’s the real game among all the phases of growing tomatoes successfully. Some instructions are:
- After germination, your first job is to continue spraying to maintain moisture. Spray twice a day and keep it up for the next 3 to 4 weeks. Remember, you can’t wet the soil; just keep it moist.
- When the plants grow a second set of leaves (the first set grows while sprouting out), it’s time to select the most robust plant between the two. By this time, the average length of sprout should be about 3 inches. Snip the smaller and weaker ones for the better growth of the other.
- Your healthier plant should be transplanted to a growing bag which you would fill with 80% garden raised bed soil and keep it under direct sun. Continue spraying twice a day, and the tomato plant will stay happily in this bag one month more.
- Tomato seedlings need direct sunlight for a couple of hours a day. During the winter, they don’t get that much from the sun because of the short day. Artificial plant lighting makes it simple to deliver 14-16 hours of light each day. Hang the grow light just a few inches above the plantlet and adjust the height as the plants grow not to burn them.
- Air circulation is crucial for the strong stem of the sprout. Succulence causes some unexpected fungal diseases in this infancy period. Creating an extra ten minutes breeze with a tiny fan will allow the healthy growth of tomatoes. Do it twice a day.
- Continue doing all these things till the time you transplant the tomato outside.
Selecting Site and Soil
Before planting tomato outside, dig into soil one foot deep and mix in the best compost and well-decomposed manure to prepare your bed.
When you want to use pots and grow bags (if your garden site is rooftop or balcony) outside, it is recommended to use poultry and cow dung manner with supplementary liquid feed in the best garden soil.
Select a site where the plants get 5-6 hours of sunlight a day when you live in the northern part. In the southern region, your planting site should be a shaded spot in the afternoon after the ruthless heat of noon.
Transplanting Outside and Growing
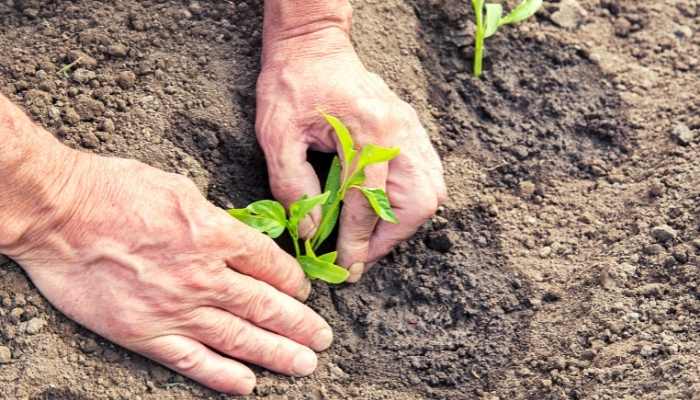
It has been 6-8 weeks since you planted your seeds indoors, and now it’s time to transplant them outside after the last frost date of spring.
You want to make an 8-10 inches hole in the garden bed soil prepared one month ago (instructed earlier). Remove your tomatoes from the grow bags and plant them in the hole and fill them with soil.
If you transplant them in a larger container in case of terrace gardening, the tank should have room for 40 liters at least.
Feeding and Fertilizing
The newly transplanted tomatoes need extra care and feeding. Fertilize them with slow-release or liquid fertilizer and water nonstop for a few minutes right away after transplanting.
Once the fruits appear, feed the tomatoes liquid plant food weekly and add compost to push new growth.
You can also water them with compost tea every two weeks. High potash feed is recommended for more flowering and fruits.
Watering
Watering in the right way is very crucial for a bountiful harvest. Take care of it.
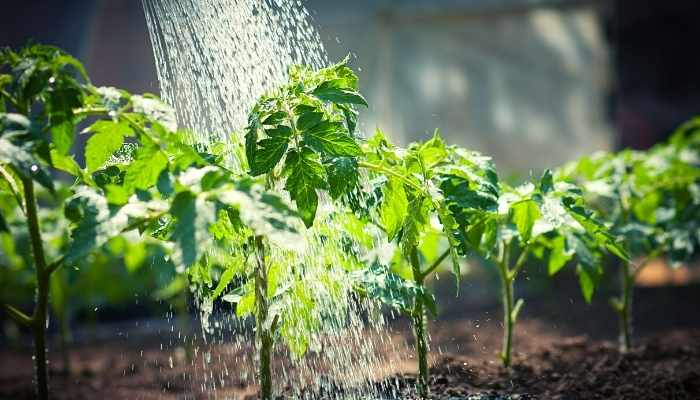
You need to consider watering at least twice a week for a start and increase the number as the summer goes on and more water evaporate. Water plants slowly to get the time that water soaks deep in the soil. But it doesn’t mean you drown the ground.
The water around the stem, not directly, to promote the roots spread. Don’t water the leaves as wet leaves are susceptible to more diseases.
Mulching
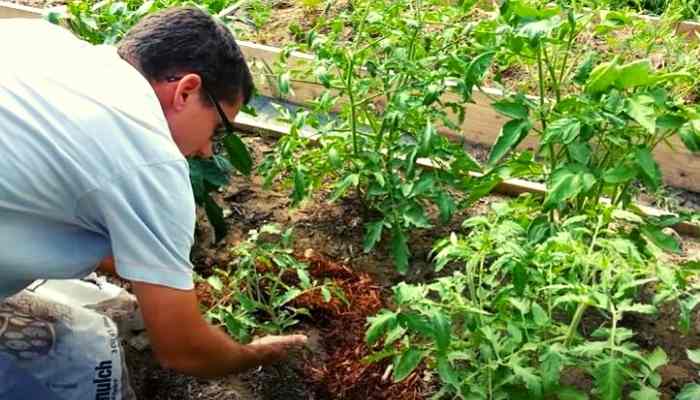
Mulch at least 3 inches thick around the stem with grass clippings or straw to keep the moisture intact and fight against weeds.
It also works as a natural covering during the hot sunny days. Make sure you are putting them 2-3 inches away from each stem to allow air circulation.
Watering once a week is enough when you are mulching the plants perfectly, and your weather is mild. Mulching not only retains moisture but also prevents water evaporation.
Support with Stake and Cage
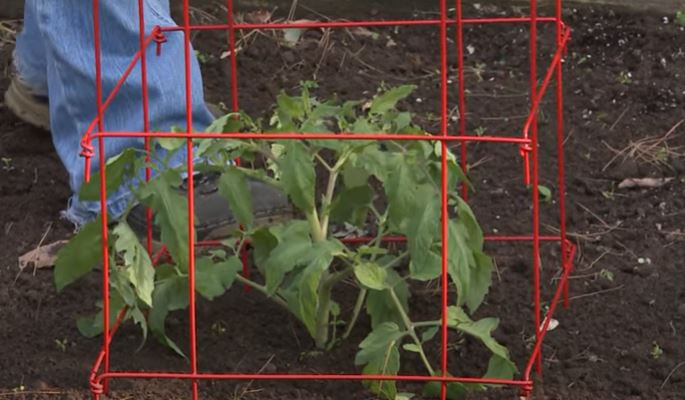
Staking is essential as soon as you transplanted the tomatoes not to let the leaves go close to the soil to prevent many soil-borne diseases.
The standard size of the stake, we recommend, 5-7 foot long that you would pound into the ground 7 inches deep and tie the plants to the stake with soft string.
The stake is useful for small determinate varieties, and larger varieties and vines choose substantial tall stake and trellises.
If you have bushy determinate varieties, set the cylinder-shaped wire cage (bought or homemade) over the top of the plants.
Pruning Leaves and Stems
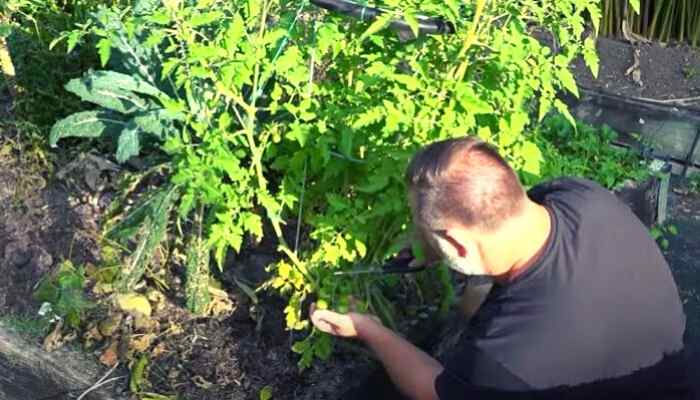
Remove the old bottom leaves, as your plants reach about 3 feet tall. They are very close to the soil and cause soil-borne fungal diseases.
You can also thin out some upper leaves around the fruit clusters to allow more sunlight for the fruits to ripen fast.
To get the highest yields, pruning is a must-do while the main stem is sprouting more side stems, sometimes called suckers. Remove all the suckers as they take away much energy from the plant and don’t grow fruits either.
Harvesting
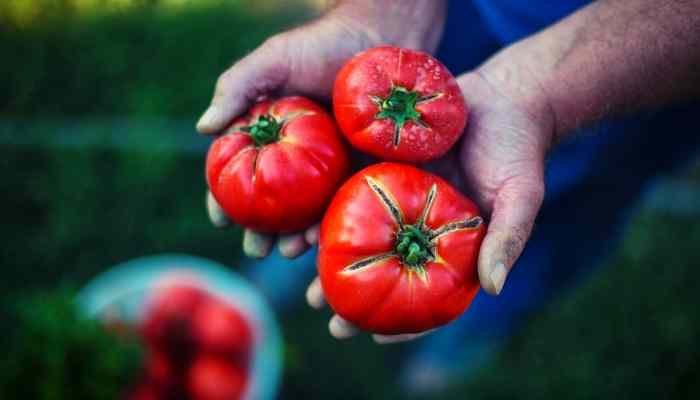
The most enjoyable part of growing tomatoes comes with harvesting; in other words, it is a reward of your too-long hard work. It’s time to enjoy it!
The best ways of harvesting are:
- After 8-10 weeks from the time you transplanted your plants in the garden, it’s time to pluck the ripe tomatoes. A perfectly ripe tomato would reach its desired color with a firm appearance by this time. Pluck your vegetables holding the stem in one hand and tomato in the other, not hurting the truss.
- Leave the fruits in the plant as long as possible; it will add sweetness and flavor.
- If there are still many plants with green or orange tomatoes and frost threatens, it is highly recommended to pull out all the plants from the ground and hang them upside down in a cold and dark place.
- The chances are that insects attack your tomatoes before ripening. In that case, pick them and keep in a window hedge.
Troubles with Tomatoes
Tomato is one of the most vulnerable plants that are prone to diseases and attractive to pests and insects. The common problems are:
- Calcium deficiency causes bottom end rot that can be cured by sufficient watering. The Late blight and mosaic virus are other frequent diseases of tomatoes that hinder the production.
- Fruit cracking is another trouble tomato faces also because of irregular irrigation.
- Whitefly, blackfly, greenfly, and tomato hornworms are some common types of insects that love to attack tomatoes.
I trust you get this guide insightful and wish you could thank me for posting this. Count your next growing season and enjoy the best out of your tomato seedlings.